
DIY Painting Techniques — A Practical Guide
Painting a room is one of the most effective and cost-efficient ways to refresh a home. Whether you’re repainting walls or tackling trim, the difference between an amateur-looking job and a professional finish usually comes down to preparation, the right materials, and technique. This guide covers surface preparation, choosing paint and tools, rolling and cutting in, and achieving a flawless finish.
1. Surface Preparation: The Foundation of a Great Paint Job
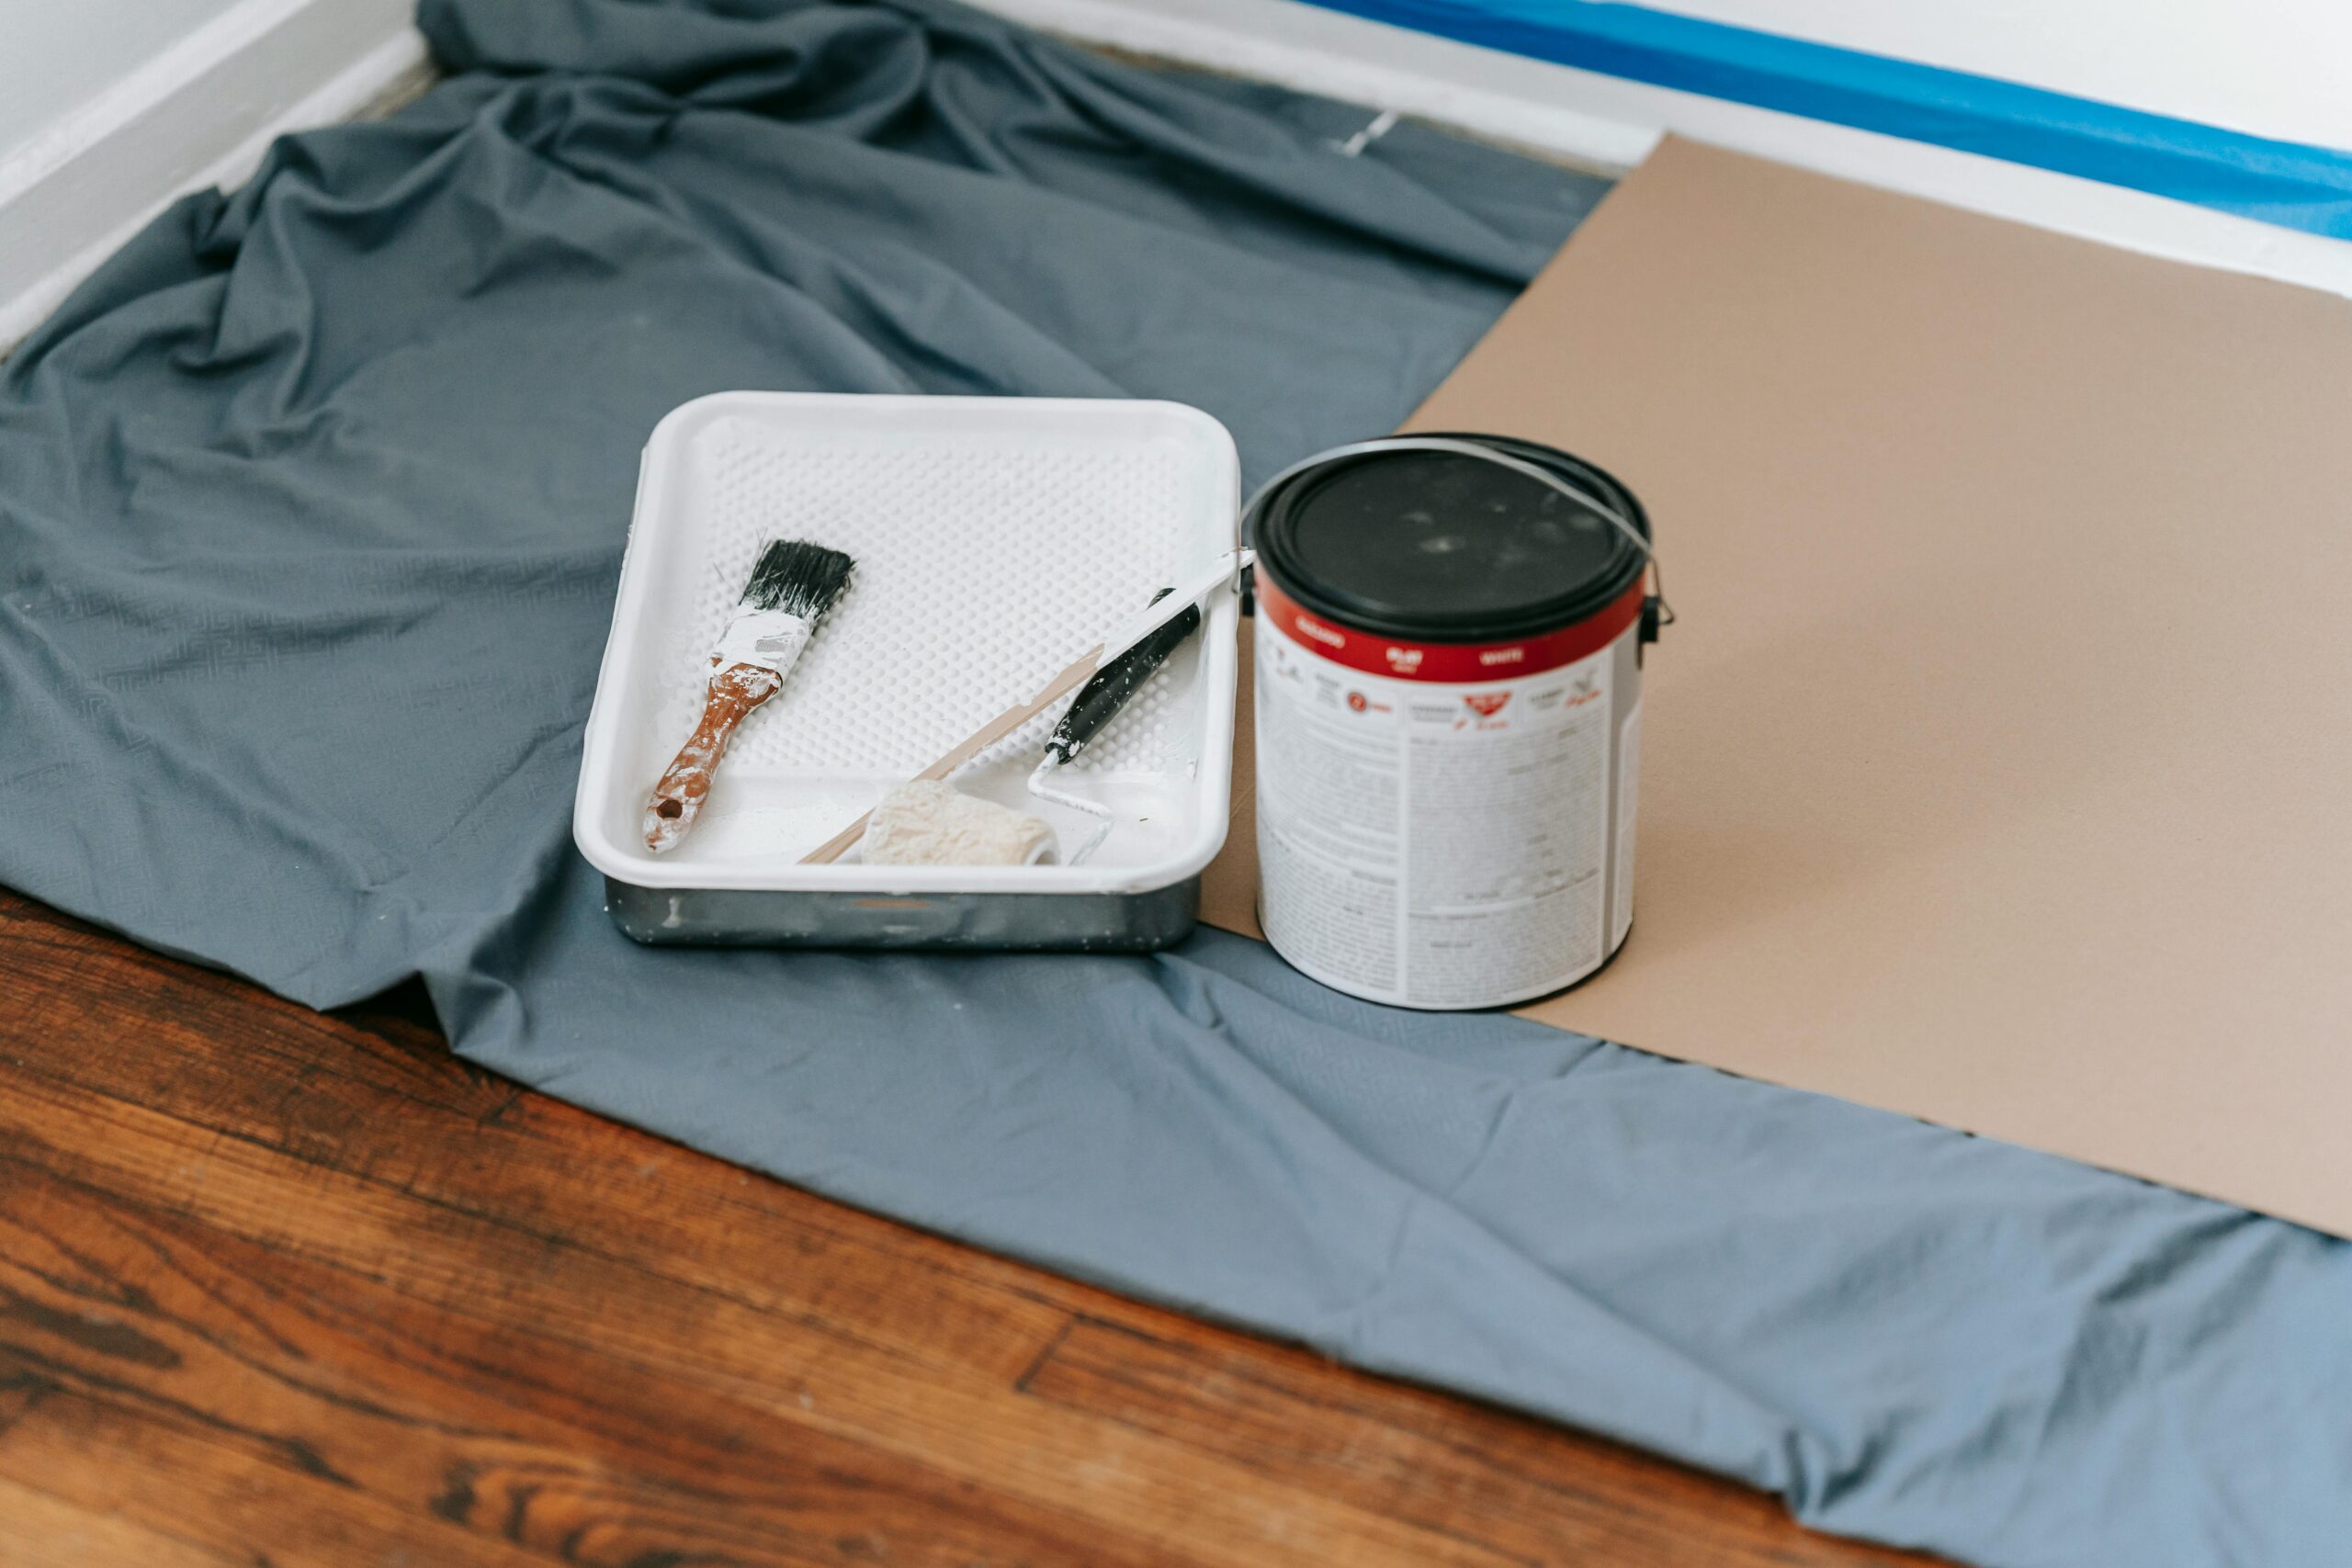
Proper preparation takes the most time, but it saves time in the long run. Start by clearing the work area and protecting floors and furniture with drop cloths. Remove outlet covers and hardware.
- Clean surfaces: Wash walls to remove grease, dust, and stains. A mix of warm water and mild detergent usually works well. For high-grease areas like kitchens, use a degreaser.
- Repair imperfections: Fill holes and cracks with spackling compound. Sand smooth after it dries. For large cracks, apply joint compound and tape if necessary.
- Sand and prime: Lightly sand glossy surfaces to promote adhesion. Use a quality primer on patched areas, new drywall, or surfaces with stains. Primer ensures even coverage and improves paint durability.
- Mask and protect: Use painter’s tape to protect trim, windows, and sockets. Press tape down firmly to prevent bleeding.
2. Choosing the Right Paint and Tools
Picking the right paint and tools will greatly affect how easy the job is and how the finish looks.
- Paint finish: Flat or matte hides imperfections but is harder to clean. Eggshell or satin offers a balance—easy to clean and slightly more durable. Semi-gloss and gloss are best for trim and doors because they’re washable and highlight details.
- Paint quality: Invest in quality paint; it covers better and often requires fewer coats.
- Brushes: Use a high-quality angled sash brush (2–2.5 inches) for cutting in and trim. Natural-bristle brushes are best for oil-based paints, while synthetic bristles suit latex paints.
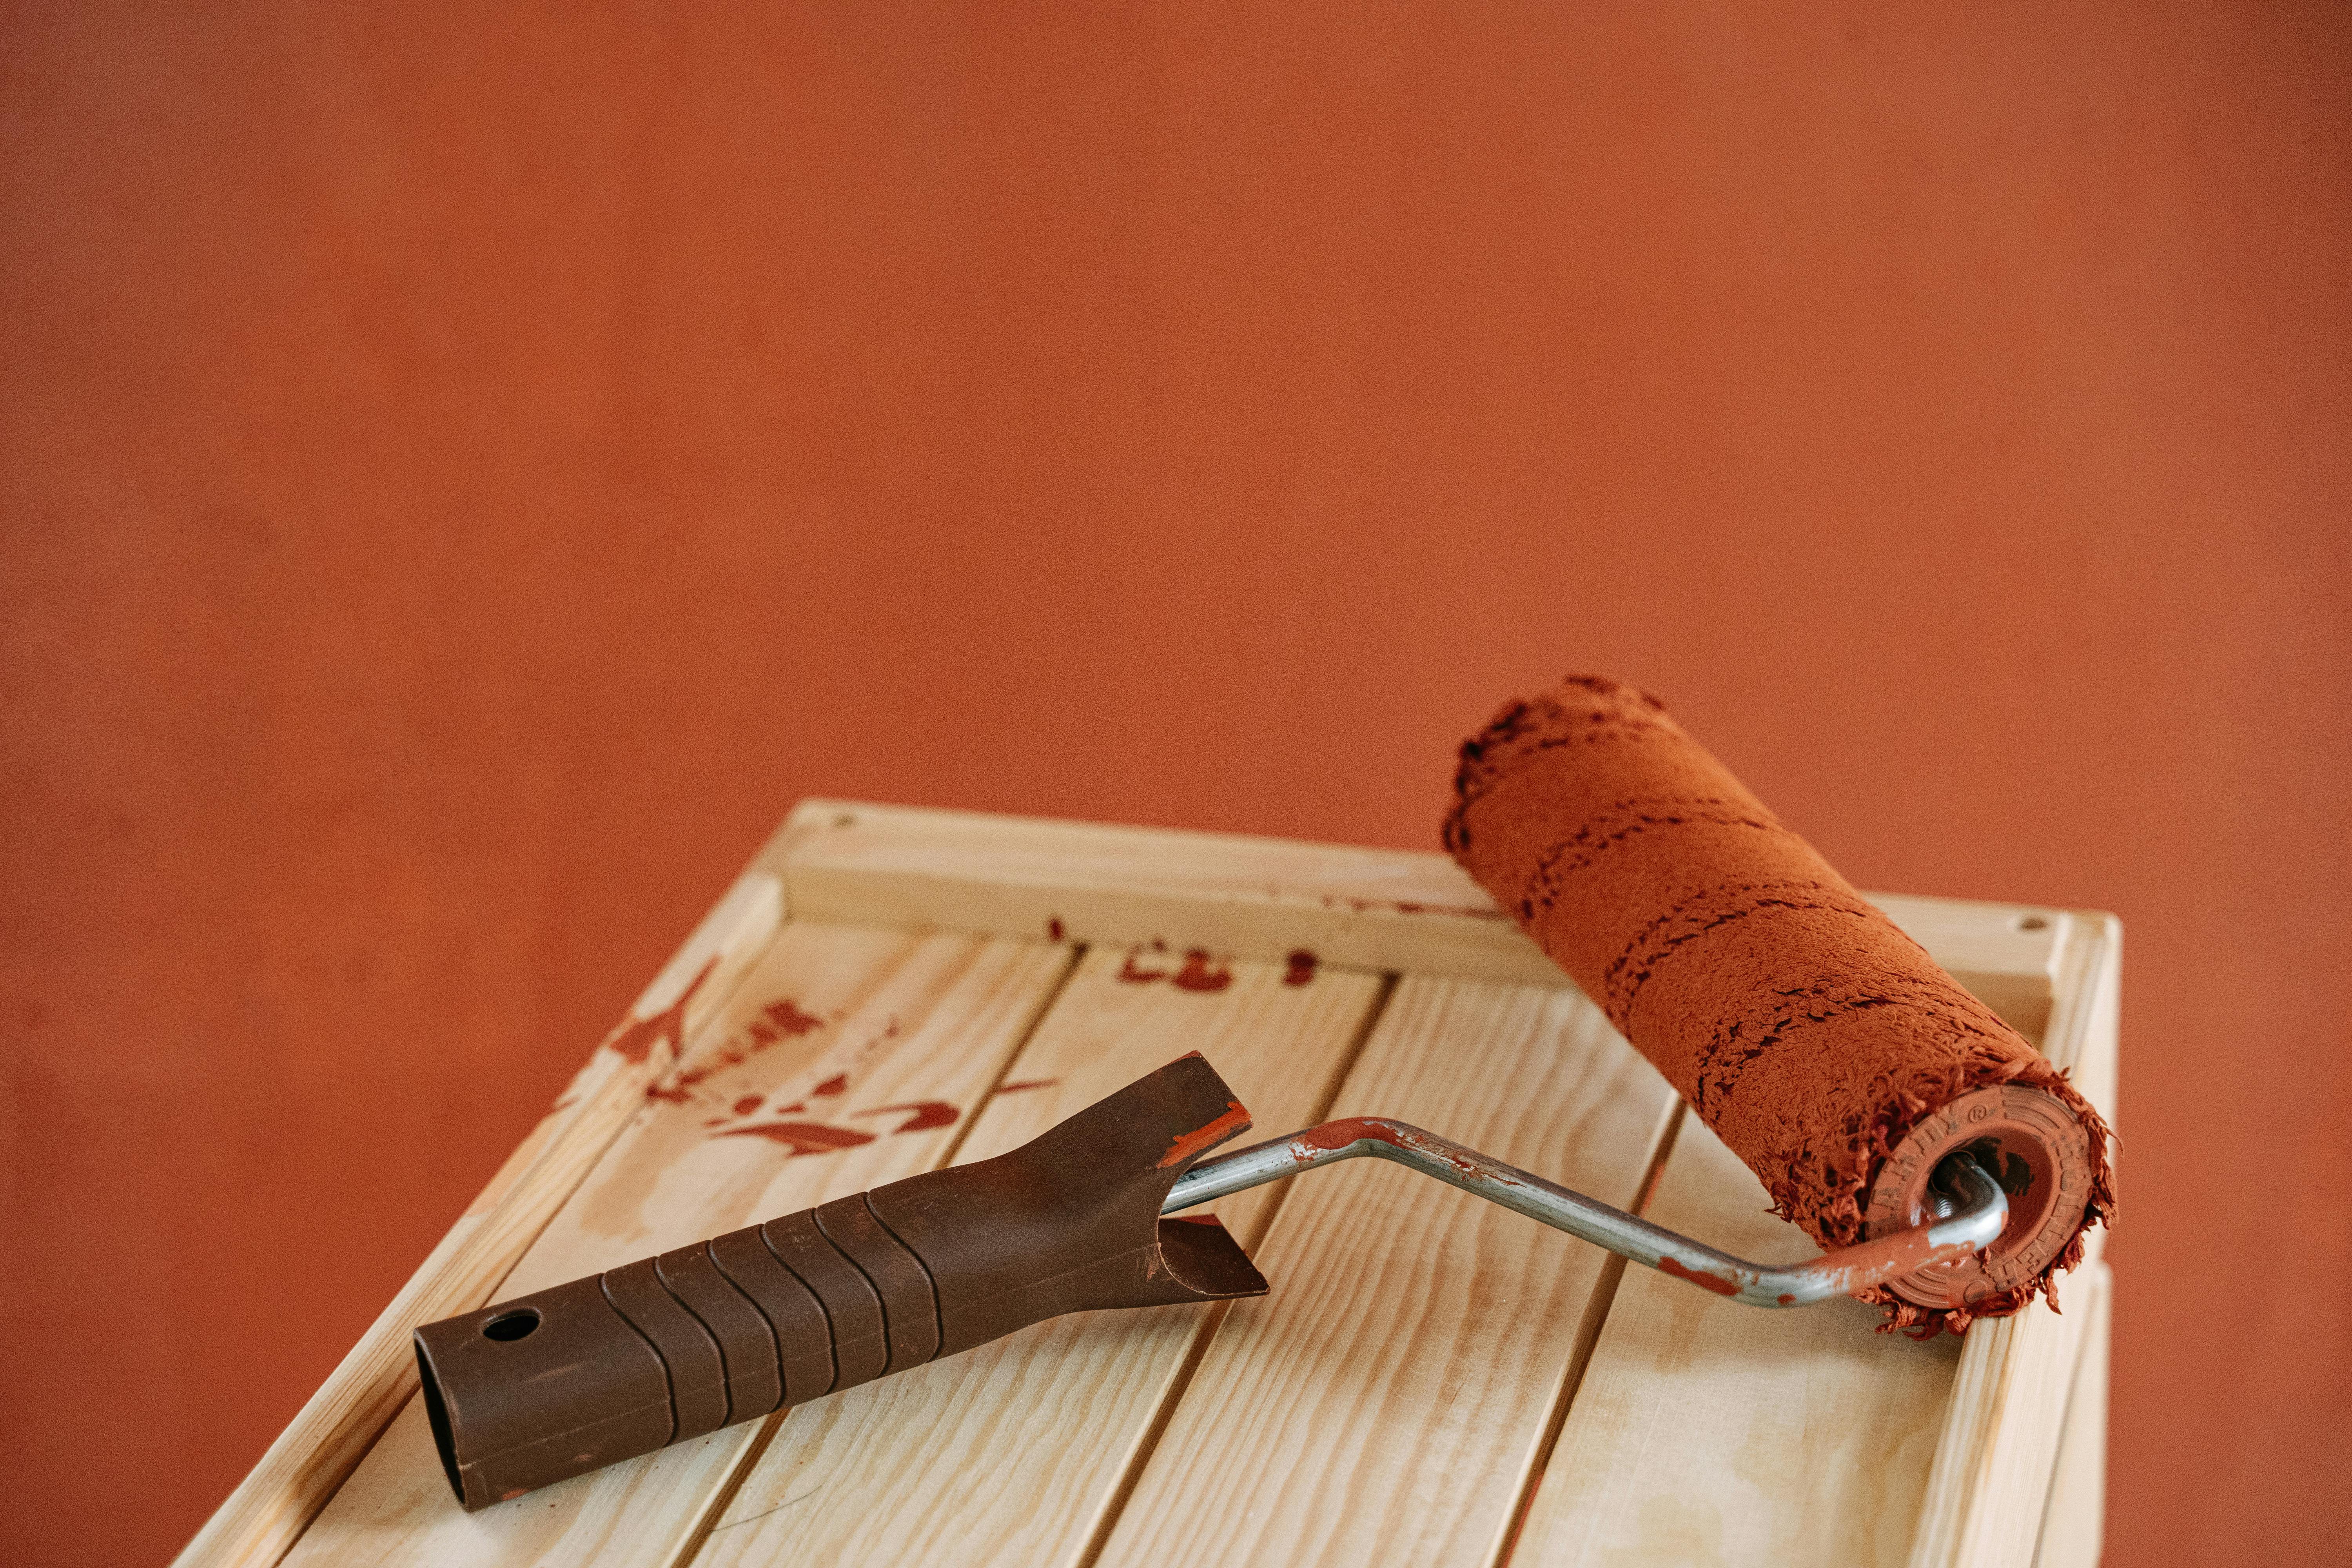
- Rollers: Select roller nap based on surface texture. Smooth walls: 1/4″–3/8″ nap. Slightly textured: 3/8″–1/2″ nap. Always use a quality roller cover to reduce lint and leave a smooth finish.
- Extras: Extension poles, paint trays, edgers, and a good ladder make the work safer and faster.
3. Rolling and Cutting In: Step-by-Step Technique
Start by cutting in around ceilings, corners, windows, and baseboards with a brush. Cutting in first allows you to roll the larger areas without worrying about edges.
- Load your brush properly: Dip the brush about one-third of the way into the paint. Tap off excess—don’t wipe.
- Cut in with confidence: Use long, steady strokes and feather the paint outwards to create a slightly overlapped strip that the roller can blend into.
- Load your roller: Roll the sleeve in the paint tray until evenly loaded but not dripping.
- Use the ‘W’ or ‘M’ method: Start by making a large W or M on the wall with the roller, then fill in without lifting the roller. Work in 4×4 foot sections to keep a wet edge and avoid lap marks.
- Blend edges: After rolling, lightly roll the perimeter where you cut in to blend brush and roller strokes while the paint is still wet.
4. Achieving a Flawless Finish
Finish quality depends on patience and attention to detail.
- Multiple thin coats: Apply two thin coats rather than one thick coat. Thin coats dry evenly and reduce drips.
- Correct drying time: Follow manufacturer recommendations for drying between coats. Humidity and temperature affect drying times.
- Light sanding between coats: For an ultra-smooth finish, light-sand with fine-grit sandpaper between coats and remove dust with a tack cloth.
- Trim technique: Paint trim after walls or before, but be consistent. Use a high-quality brush, and consider a small foam roller for smooth, fast trim coverage. Cut into corners first, then paint flat surfaces.
5. Troubleshooting Common Problems
Even careful work can run into issues. Here are quick fixes:
- Drips and runs: Catch them while they’re wet with a brush and feather out. Sand and repaint if they have dried.
- Lap marks: Keep a wet edge and work in small sections. If they occur, sand lightly and repaint the area blending into surrounding paint while wet.
- Uneven sheen: Often caused by improper primer or rolling technique. Sand and apply a balanced topcoat.
Final Checklist
- Clear and protect the room.
- Clean, patch, sand, and prime where needed.
- Choose appropriate paint finish and high-quality tools.
- Cut in first, roll with the W/M method, and keep a wet edge.
- Apply thin, even coats, sanding between if necessary.
- Remove painter’s tape while paint is slightly wet or just tacky for the cleanest lines.
With the right prep, materials, and technique, you can achieve professional-looking walls and trim. Take your time, practice cutting in on a scrap piece of cardboard if you’re new to brushing, and always work methodically. Happy painting!


Ava M.
Great step-by-step guide — the tip about keeping a wet edge really made a difference on my last room.
Carlos R.
Helpful checklist. I didn’t realize sanding between coats could improve the finish so much.
Priya S.
Thanks for the tool recommendations. The angled sash brush suggestion was spot on for cutting in trim.